Automotive CGI: from studio render to moving image

Automotive CGI is a study in controlled surfaces and purposeful cameras. Paint, glass, tyres and carbon all respond differently to light, while a familiar vehicle can look entirely different at road height, in a clean studio or moving through an environment. The strongest work treats those decisions as one visual system.
What makes automotive CGI different from other product imagery?
A car is large enough to behave like an environment and precise enough to behave like a product. Long reflections travel across the bodywork. Small changes to camera height alter the stance. Wheels, glass, lights and interior details all carry strong expectations because viewers already know how they should look.
That makes automotive rendering less about adding gloss and more about controlling evidence. The frame has to show the design clearly while creating the mood the brief needs.
Start with geometry that suits the intended cameras
Source data can be detailed without being ready for visual production. It may contain engineering structures the camera never needs, surfaces that require cleanup or a hierarchy that is awkward to animate. The studio first needs to understand the shot list: full exterior views, interior details, moving components, wheel close-ups or abstract fragments all place different demands on the asset.
Do not spend equal effort everywhere. Build and refine for what the camera can see, while preserving the silhouette and design details that make the vehicle recognisable.
How do paint, glass and carbon become believable?
Automotive paint has layers. Its colour, metallic response, clear coat and fine surface character change with view and light. Glass needs believable thickness and reflection without hiding the interior. Carbon fibre needs the right scale and orientation; otherwise it reads as a generic pattern laid over a shape.
Reference should include more than colour values. Photographs of the actual finish under several lighting conditions help the studio understand how it behaves. Neutral tests can settle material response before a dramatic environment complicates the judgment.
Lighting reveals the design
Cars are often lit through reflection. Large bright shapes describe curves across paint and glass, while controlled dark areas give those reflections somewhere to exist. A light can be physically outside the camera view yet become one of the most visible shapes in the image.
Studio lighting offers precision and graphic control. An outdoor or road environment adds context, atmosphere and a more complex reflection world. The McLaren 720S study explores the same subject across studio, highway and visual airflow treatments.
Choose a camera language, not a collection of angles
A useful shot list has rhythm. Establish the whole vehicle, move into defining details, change pace, and give each angle a reason to exist. Low cameras can emphasise stance and speed; longer lenses compress form; wider views place the car more firmly in its environment.
For stills, every frame needs to stand alone. In motion, one camera can withhold information and let the next reveal it. The Formula One study uses cockpit-height views and moving tests to explore a different relationship between viewer and machine.
What changes when the car starts moving?
Motion involves more than translating the vehicle through a scene. Wheel rotation, suspension, camera tracking, road speed, reflected movement and environmental blur need to agree. Even a static car can feel in motion if light and camera move with the right weight.
An edit also needs a beginning, development and finish. Storyboards or rough animatics can settle that structure before the expensive surface work is final. KUBIK’s Lamborghini study pairs a storyboard frame with a finished automotive edit, showing why shot planning belongs near the start.
Can one automotive asset support stills and animation?
Often, provided the asset is organised for both. Moving wheels, steering, lights, doors or other parts may need a clean hierarchy. Close shots may demand additional detail. Each environment still requires its own lighting and composition.
The advantage is continuity: approved proportions and surface language can carry from hero frames into motion and later variations. Read one 3D product, many campaign assets for the wider planning principles.
From the KUBIK portfolio
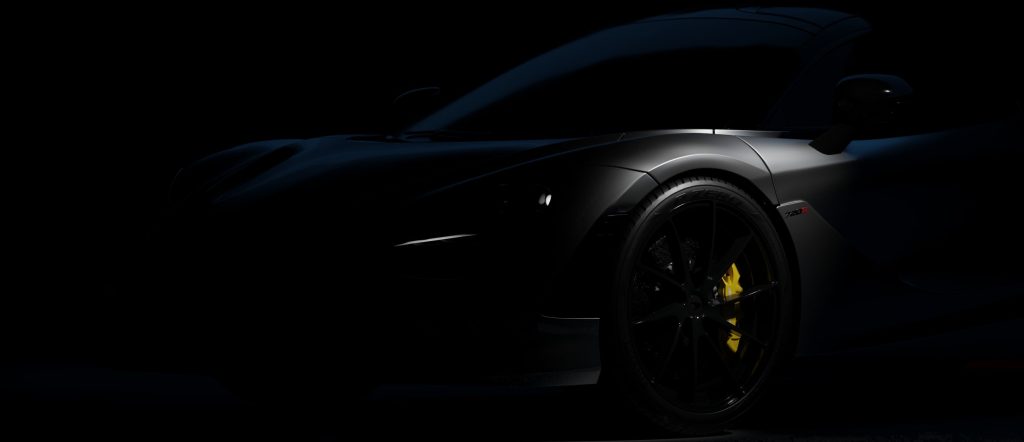
The image above is a finished portfolio example. It illustrates the visual subject discussed here; it is not a software screenshot or a claim that every technique in this guide was used on this particular frame.
Automotive CGI FAQs
Do you need production CAD to start?
No. CAD can help, but concept models, existing meshes, drawings and strong reference can also form a starting point. The required accuracy depends on the job.
Can CGI create both studio and location imagery?
Yes. The vehicle can be lit in a controlled virtual studio or integrated into a designed environment, with new work required for each setting.
Is an airflow image the same as engineering CFD?
No. A visual airflow treatment can communicate speed or direction, but it should not be presented as engineering analysis unless it comes from a validated technical process.
Explore more product visualisation and motion design work.
Planning automotive stills, motion or both? Discuss the shot list with KUBIK.